Thursday, March 27, 2014

Anything Goes at Paper Crafting Journey!!

I cannot believe how quick the weeks are flying by! It is nearly the end of term at school which means school holidays! I do love spending time with my boys but they just argue so much.. drives me nuts.. anyway, positive thoughts, we are going to have fab holidays! lol.
It is time for a new challenge at Paper Crafting Journey and this weeks challenge is an easy one - Anything Goes! Our sponsor this week is none other than the fabulous Elisabeth Bell who creates all things adorable.
I decided to make a corner bookmark which I think this image - Me Time from Elisabeth Bell's digital collection was perfect for.
I coloured Me Time in with tria markers! I used some embossed paper which I distressed with walnut stain distress ink. I then just added the ribbon and button and twine! My youngest son gave this bookmark to his teacher. )
I hope that you can join us this fortnight at Paper Crafting Journey! 



Wednesday, March 26, 2014

Pretty Pastels!

Another month has passed which means it's time for a new challenge at Elisabeth Bell's World. For this months challenge we wold love to see your Pretty Pastel creations! As always there are fab prizes up for grabs.
I used Love You, Miss You from Elisabeth Bell's digital collection for my card and decided to make a CAS card so that she was a stand out!

I coloured Miss you, Love you with tria markers and fussy cut her out! I inked around the edge of the card then added the striped washi tape, buttons and stamped the hello sentiment!
That's it from me.. short and sweet today! Be sure to stop by the Elisabeth Bell's World blog to find some more inspiration from the DT. Remember you can use any Elisabeth Bell image from any of the many wonderful stores Elisabeth Designs for!

Tuesday, March 25, 2014

Mother's Day at Crafty Sentiments!!

Sadly today's challenge at Crafty Sentiments is my last challenge as my GDT term has come to an end. I have absolutely loved creating with all the adorable Crafty Sentiments images! Thanks to all the DT for having for the past 3 months...
So this weeks challenge at Crafty Sentiments is Mother's Day. We do not celebrate Mother's Day here in Australia till May so I guess with all the latest Mother's Day challenges I am very organised this year..lol.
I had planned on making a tent card but after I had decorated the front of the card with the pink paper and die cut out the oval shape I didn't really have enough room to adhere the accordion base so I decided to just leave it off! I added the designer  paper to the inside of the card, then finished the front. I fussy cut Jasmin Let's Swing out then stuck her onto the front of the card by the top of the rope swing and left it free to swing. I then die cut out the flourish and flowers, finishing it off with the Happy Mother's day sentiment!
Thanks for stopping by.
I would like to enter this card into the following challenges:
* Fitztown - Dies and/or Punches
* Lexi's Creations - Use your punches and Dies
* Make it Monday - For Mum's
* Ooh La La Creations - For a Special Lady
* Dream Valley challenges - Mothering Sunday
* A&T Emerald Faeries - Girly Pretty in Pink
* We Do DoobaDoo - Sweet as Honey

Monday, March 24, 2014

Aurora Wings sponsoring Craft Your Passion and Seems a Little Sketchy!

Hello all. I have combined two of my DT challenges today as they both have Aurora Wings sponsoring them!
 Have you seen their adorable images!! They are simply gorgeous and so beautiful to colour although not entirely I can do them any justice with my colouring.
Anyway it is time for new challenges to start! This week at Craft Your Passion our challenge is "For the Ladies". And of course at Seems a Little Sketchy we have a fab sketch.

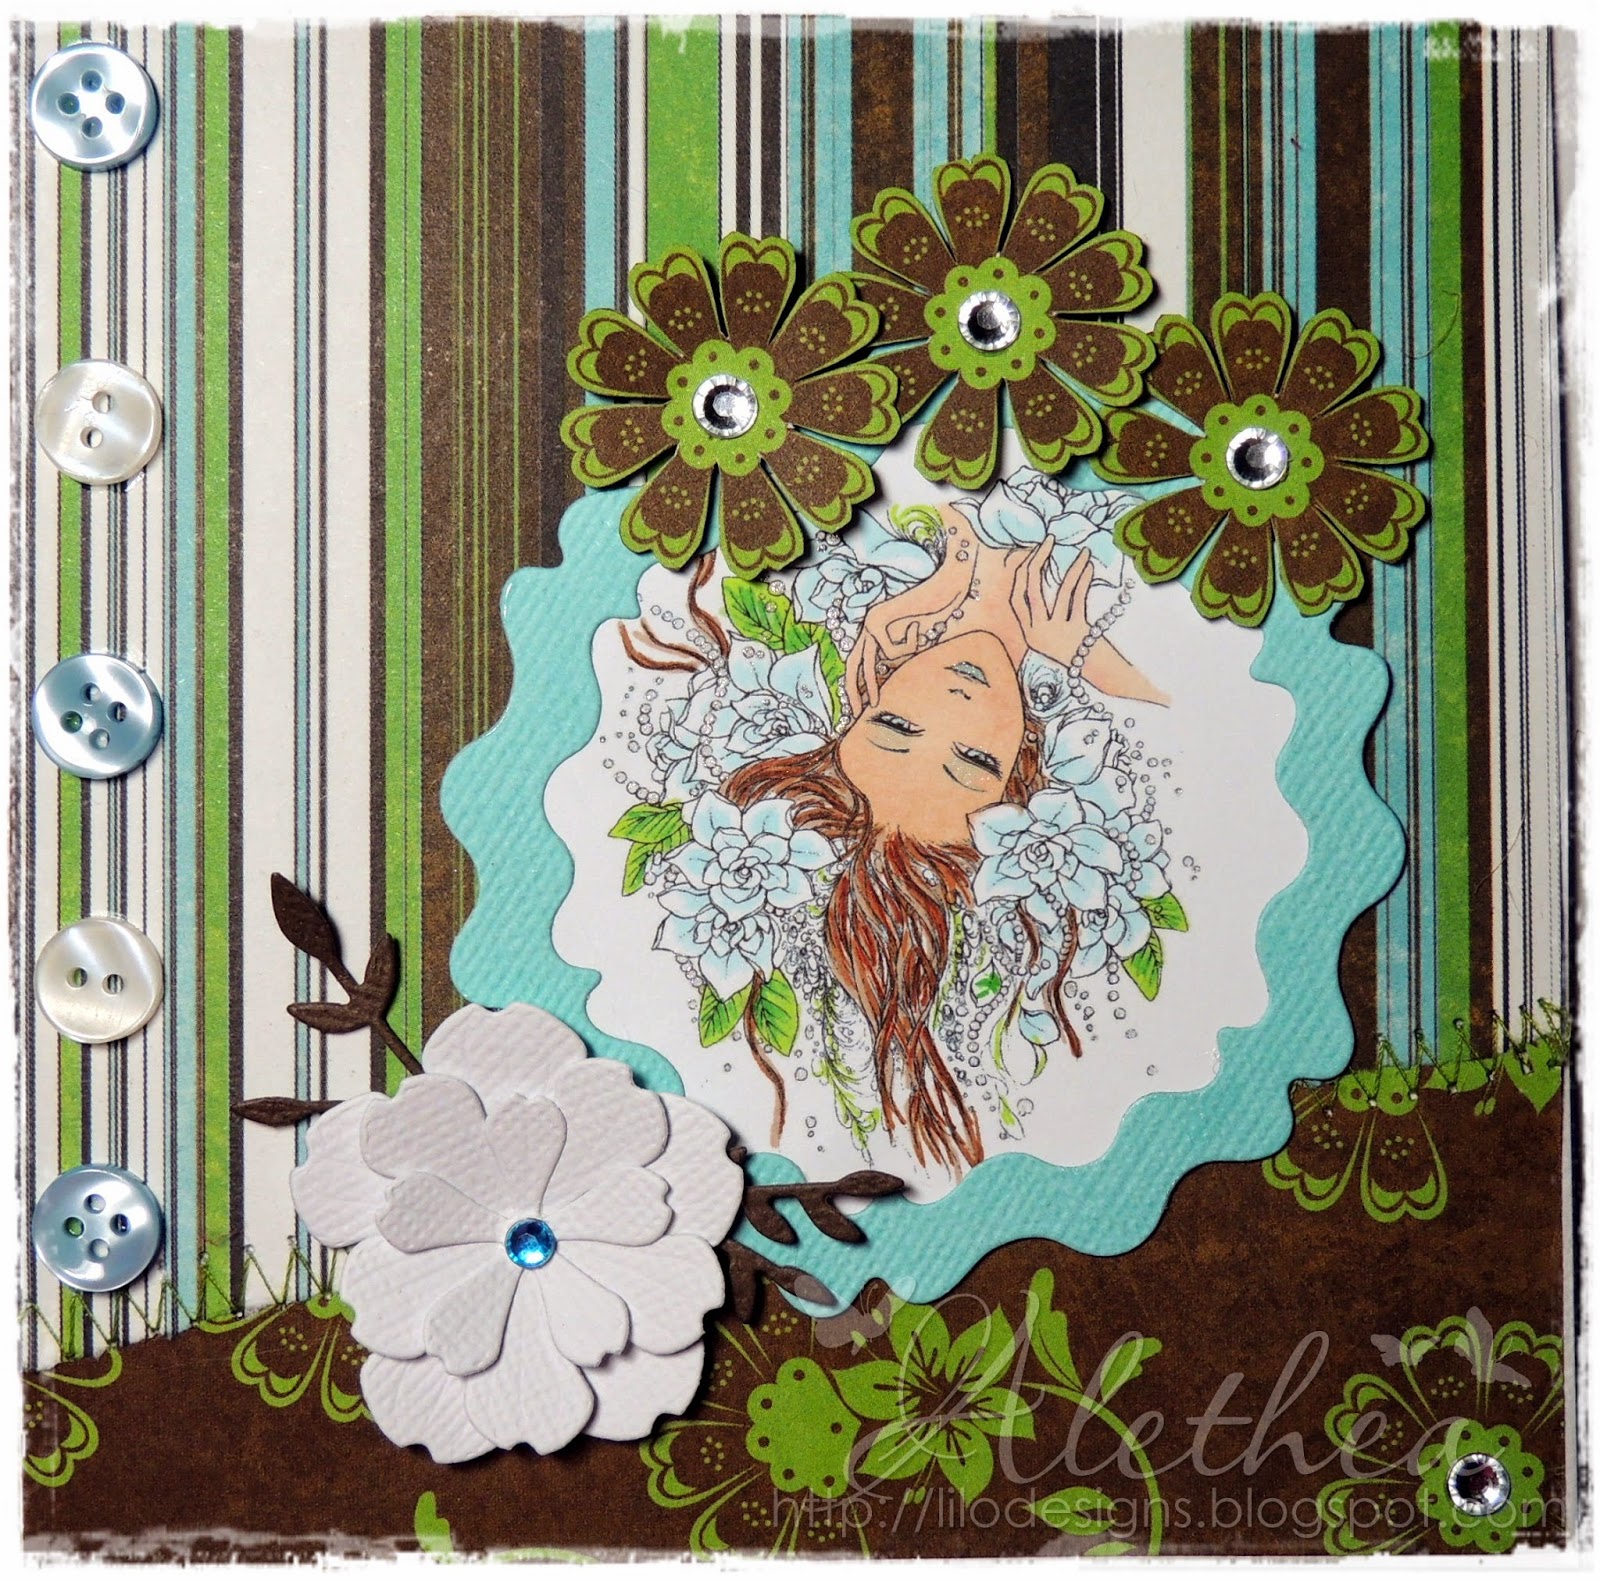
Here is my card using Woman with Gardenia and Pearls from Aurora Wings
Isn't this a beautiful image! I coloured her in with tria markers and used glitter pens to add some sparkle ( not that the photo has picked that up).  I based the colours of the image on the papers I found in my scraps stash. I die cut out the image then die cut out a border to go around it. I decided to cut the flowers out of the designer paper so that it linked in with the colour scheme, then just added the other die cut flower. Then to finish it off I added some buttons because i felt like that side of the card needed something and then just added the rhinestones to the flowers.
I hope that you can join us at Craft Your Passion this week at Seems a Little Sketchy this fortnight.
I know it has been a very long time but I would like to enter this card in the following challenges:
* Stamps by Aurora Wings - Anything Goes
* Hobbycutz - Girly but NO Pink
* That Craft Place - Flowers and/or Mother's Day
* A Gem of a Challenge - Mother's day/  Female Birthday/ Special Lady
* Open minded Crafting - Use some Buttons
* We Doo Doobadoo - Sweet as Honey
* Southern Girls Challenge - Floral frenzy
* Divas by Design - Flower Power

Saturday, March 22, 2014

Giddyup Elisabeth Bell Fans.. it's time for a Hop!

Hello friends and welcome to The Digi Bell's Feb Blog Hop! As always we have lots of gorgeous creations to share but let's get the formalities out of the way! If you arrived here from Mary Lou's Blog then you are certainly in the right spot but if you have randomly stopped by or got a little lost then head back to The Digi Bell's blog where there is the list of the Hop Stops and also all the details on how you could win this sweet image!! What is this sweet image? Well it is none other than Elisabeth Bell's 
"Giddyup Pony"

You may recognize her from when she was previously released as a stamp.  I decided to go with a pink and brown theme for this card again. (I just realised last months was pink and brown also oops).. I need to change my colour palette a bit more..hahahah.  I coloured Giddyup Pony with tria markers! I used some scraps of papers that I had for the background and cut out a giant star. I hadn't planned to have the image this small but I ran out of ink so I couldn't print her again. I stuck Giddyup on the star and poppped it all up on 3D dots. I then diecut the hanging stars, added the twine and button then sparkled it up a little with some kindyglitz.
Well that is it from me. It's now time to head on over to Linda's Blog.
Enjoy the hop and if you would like this image now or any other Elisabeth Bell digi image then head on over and check out her digital collection now! 

Tuesday, March 18, 2014

Go Green at Craft Your Passion!

Hi everyone, I have been so behind with all my DT committments the last few weeks so I just wanted to apologise to all my teamies and followers and hopefully after the weekend I will be back on track. Because of all the recent sadness, I have lost my mojo so I have struggled to get things made.
I am only a few hours late with this one (as I realised while making it I wasn't even following the theme so I had to remake it.. oops).
Anyway, todays challenge at Craft Your Passion is Go Green so we want to see lots of green on your creation and you also have the option of adding something recycled.
We are sponsored by
Inky Impressions

They have the sweetest images.
I actually wanted to reprint and colour the image again so it had more green but as luck would have it I have run out of printer ink. Is anything going to go right.. hopefully soon ??? So I coloured the image and the banner in with tria markers. I found all this fabulous green crafty goodness in my stash (which is actually my son's) and also recycled some of it from another card that i wasn't happy with so ended up pulling it all apart. Turned out ok in the end I guess..
Well I hope you will join us at Craft Your Passion and don't forget there is currently a DT call but be quick as it ends tomorrow.

Sunday, March 16, 2014

Love You, Miss You!

It's my turn to post on The Digi Bell's Blog and I decided to make something nice and simple for an upcoming holiday - a Bag Tag using the image - Love You, Miss You from Elisabeth Bell's digital collection.


I used paintnet to turn the image into a png file so that I could layer it on to the  striped paper. I then just added a couple of flowers and coloured in the flowers on the image! For the back of the tag I just added what I thought would be good to have on a tag. Not sure how about having the address on their but I can always leave it blank. I inked around the edge with black soot distress ink. I then attached the two sides together and laminated the tag. Then finished it off by punching a hole in the top and adding a ribbon.
Be sure to stop by the Digi Bell's blog daily for more inspiration using Elisabeth Bell digi images. And be sure to stop by The Digi Bell's Blog on Friday for our monthly Blog Hop featuring the latest Elisabeth bell digi image.